![]()
![]()
![]()
![]()
|
|
|
|
|
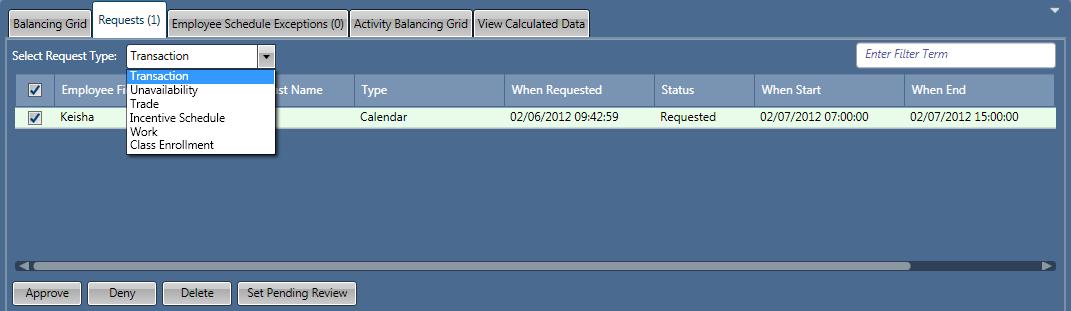
The Requests tab opens a screen which displays the pending employee requests. Authorized users can handle (approve, deny, cancel) requests from this screen.
Selecting the Request Type
Select the type of request from the Select Request Type drop down menu. The fields that display on the requests screen are determined by the request type selected.
Filtering the Requests List
A filter can be applied to limit the number of requests that are displayed on the screen.
In the Enter Filter Term field on the right side of the screen, enter filter criteria. This can be alphanumeric text (such as employee name information or status or date information, etc.
The filter is automatically applied.
Actions
The following actions are available for handling employee requests:
Approve
Select Approve to approve an employee's request.
To approve one or more records, complete the following steps:
For transaction requests, a Time Off informational message appears by default if other employees in the department or unit have overlapping time off.
Click the link in the message to show a list of the employees.
The status of the request is updated to Approved. In the schedule grid, the request is removed from the Requests tab and the request icon in the schedule grid updates to the appropriate calendar symbol.
Deny
Select Deny to inform employees that their requests are not allowed.
To deny one or more records, complete the following steps:
The status of the request is updated to Denied. In screens that display an icon, the denied request is represented with ![]() .
.
Delete
Select Delete to remove one or more requests.
To delete one or more records, complete the following steps:
Set Pending
Select Set Pending Review to inform employees that their requests have been seen, but have not yet been handled.
To set the status of a record to Pending Review, complete the following steps:
The status of the request is updated to Pending Review.